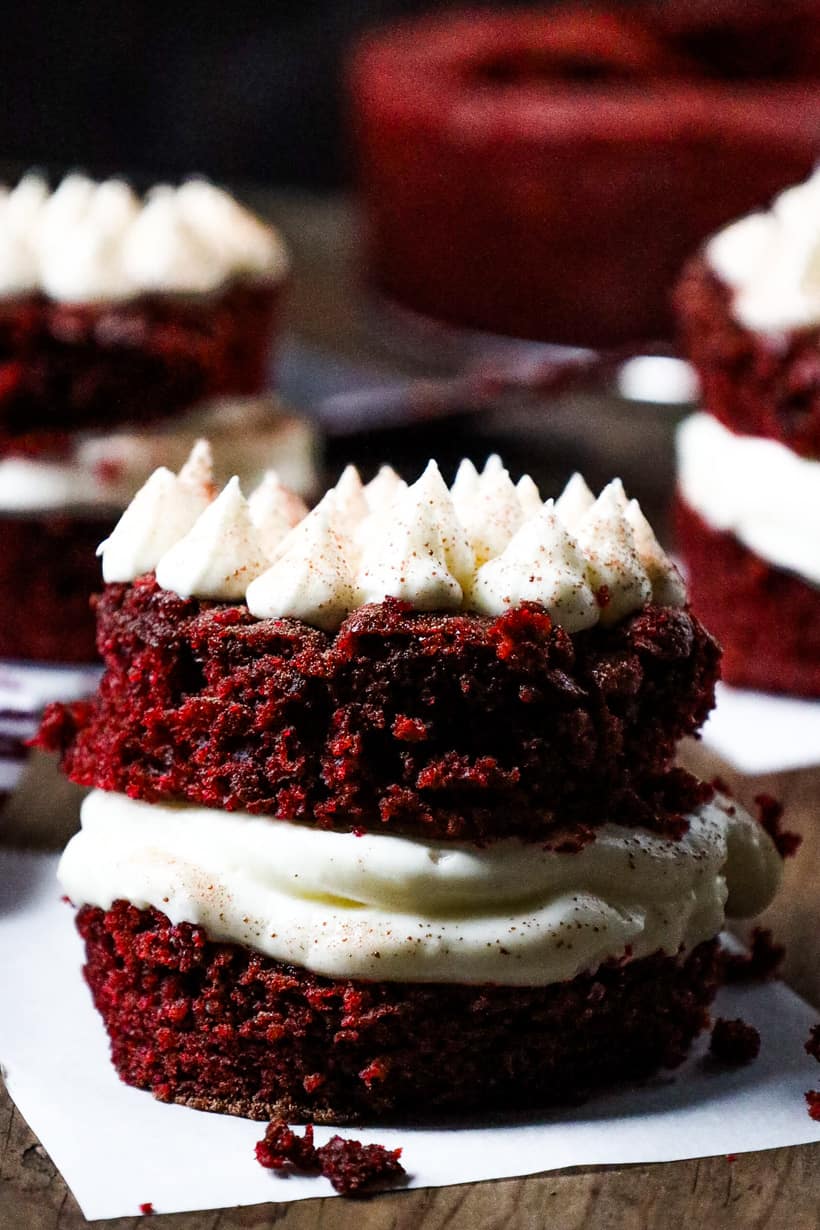
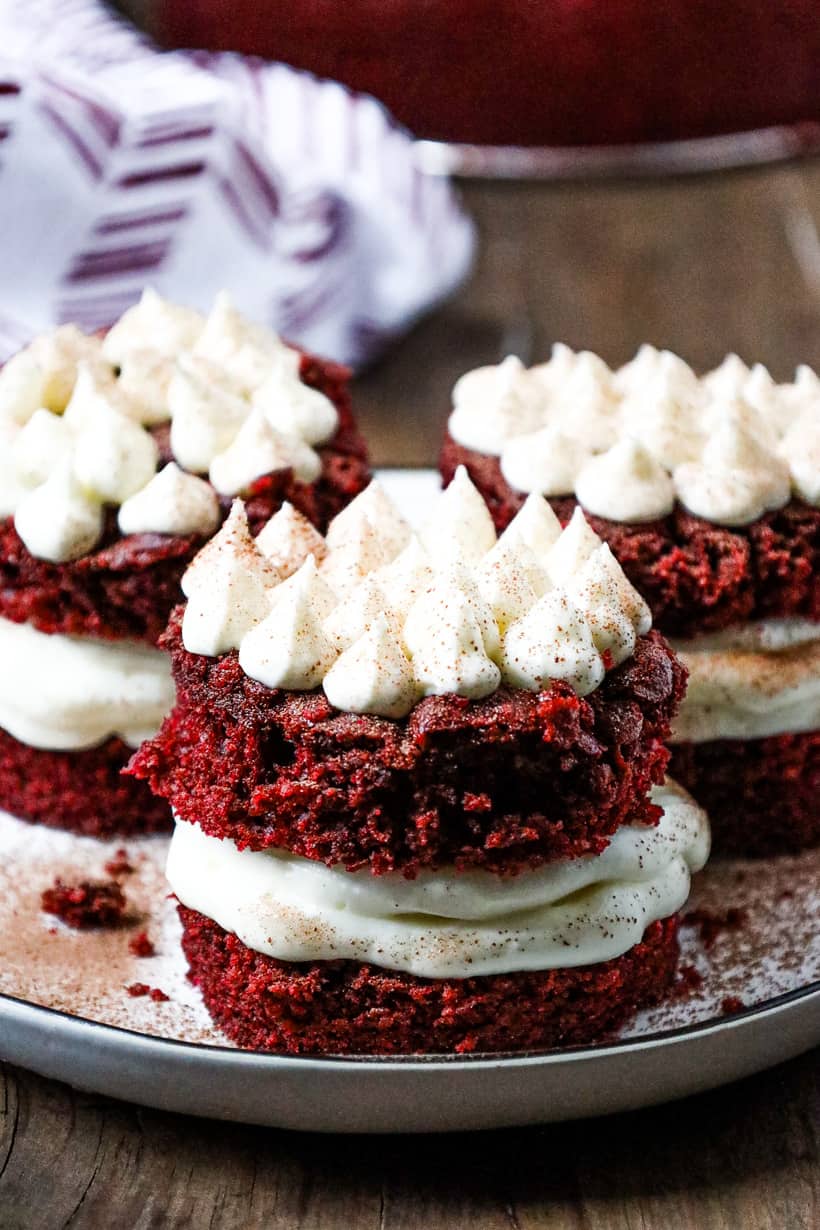
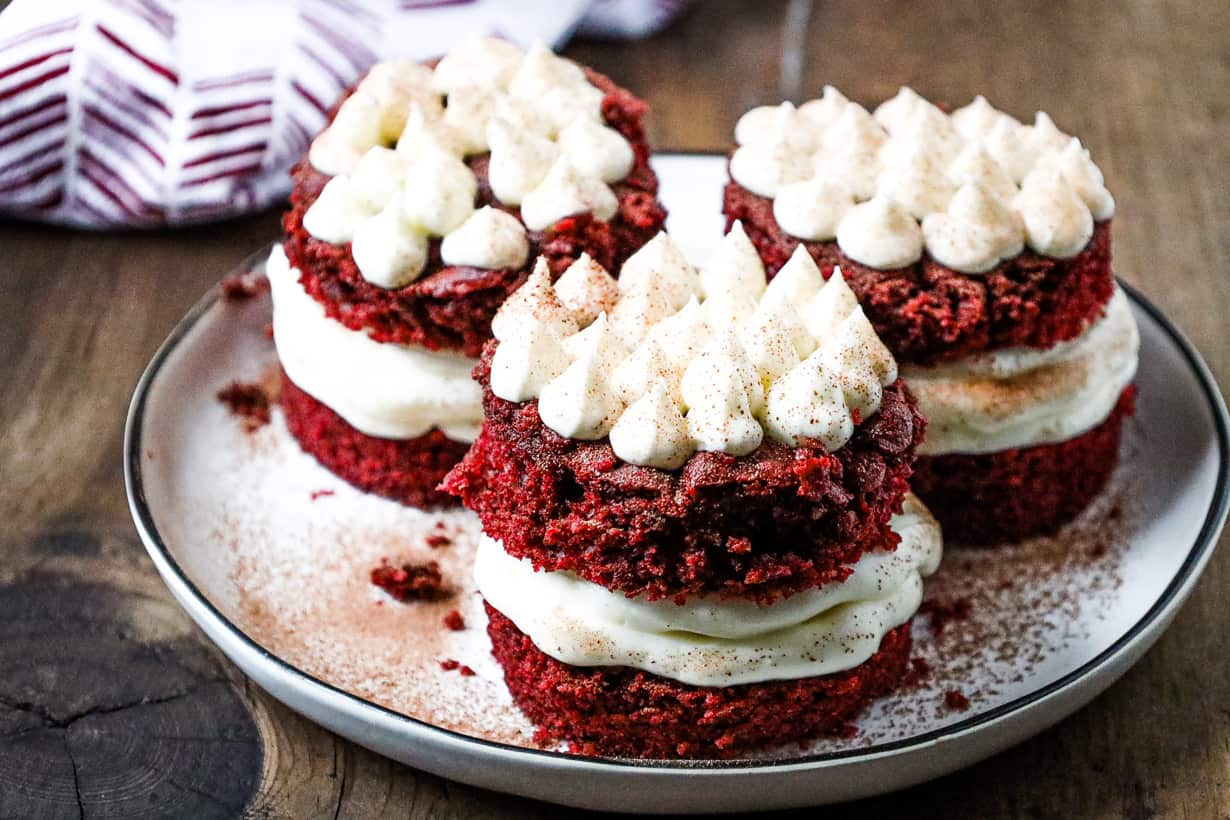
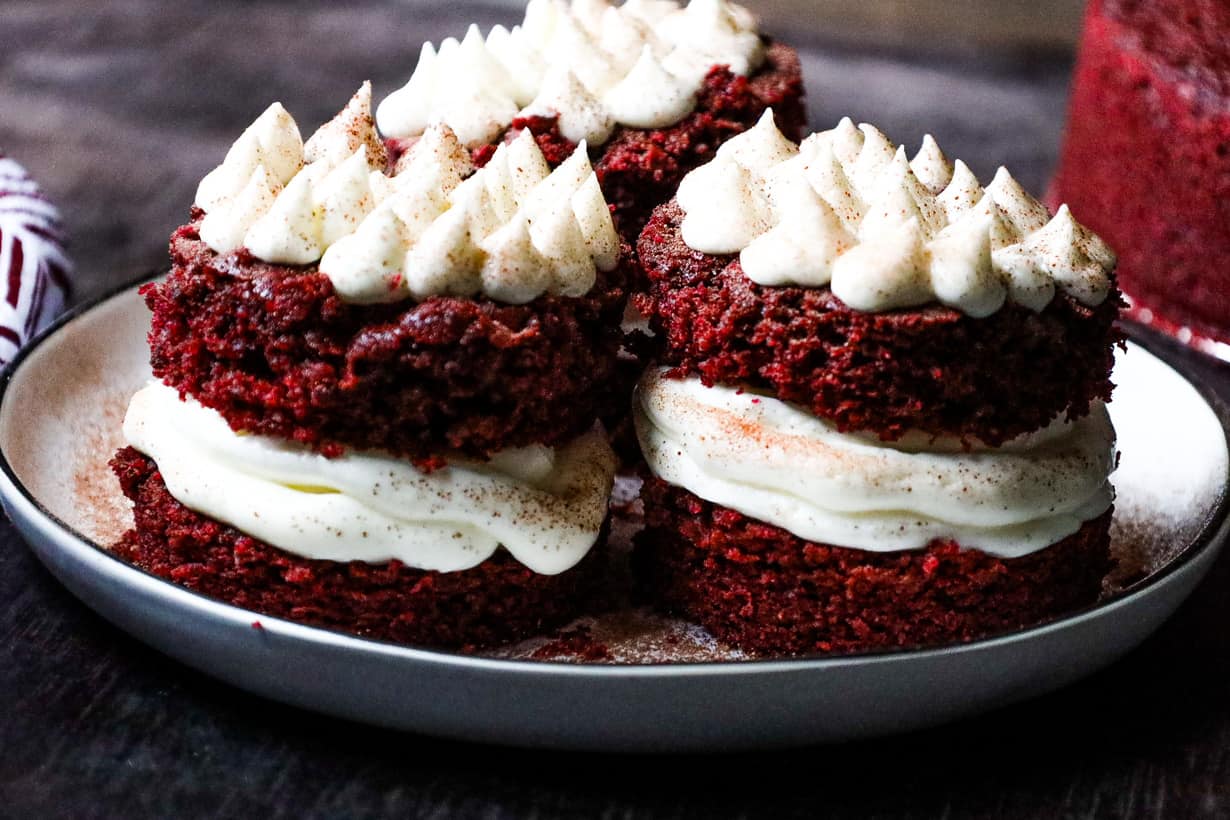
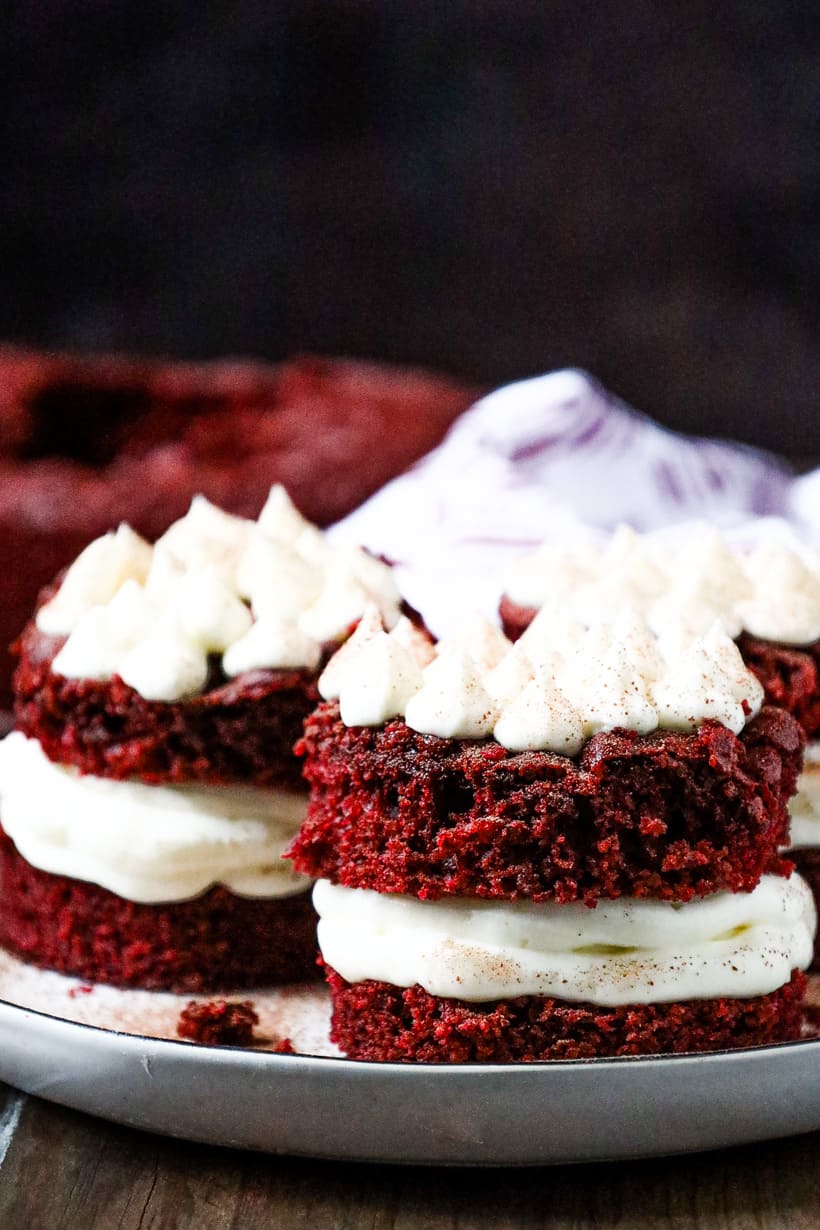
Mini red velvet cake that’s made from scratch and incredibly soft, these mini cakes take the center stage at the dessert table.
Take all the things you love about red velvet cake – chocolate flavor, red color, decadent frosting – but make it smaller, and you have the cutest, most delicious dessert you’ve ever seen and tasted.
This dessert is wonderful all year long, but it’s especially perfect for the holiday season due to its beautiful red color. Let’s not forget Valentine’s Day!
Ingredients
Using the same flavor from the Red Velvet Bundt Cake, the batter for this mini red velvet cake will be just the same as a typical red velvet cake, whether you’re making a full-size cake or cupcakes.
The traditional red velvet ingredients remain – flour, sugar, baking soda, salt, cocoa powder, milk, vinegar, and red food coloring.
Cocoa powder, milk (buttermilk is most often used), vinegar, baking soda, and red food coloring are vital to red velvet recipes.
Do not skip and do not substitute, unless you want your red mini velvet cake to be a mini brown velvet cake or taste like vanilla. And trust us, you don’t want that.
Although cream cheese frosting is the traditional choice, red velvet cake tastes fabulous with all types of frosting, and the same goes for this mini red velvet cake. Whether you choose mascarpone, cream cheese, buttercream, or something else, you can’t go wrong.
Baking Tips
Whenever you’re baking, it’s best to sift the dry ingredients to remove any lumps, and the same goes for this mini red velvet cake recipe. This is especially crucial with the cocoa powder, as it’s particularly susceptible to lumps.
When mixing your red velvet cake batter, be sure to stir in the ingredients carefully.
You can either create a well with your dry ingredients to slowly mix in the wet ingredients, or you can incorporate the dry ingredients into the wet ingredients a little at a time, making sure the dry ingredients are fully mixed before adding more. Either way, be sure not to over mix.
The biggest difference between red velvet cake and mini red velvet cake is, obviously, the size, and that is created in the preparation.
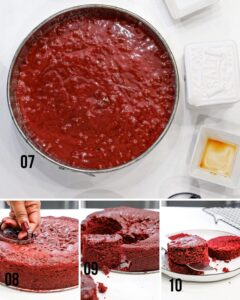
Either use multiple smaller cake pans to bake, or use a larger cake pan and cut into smaller sizes when the cake is baked. No matter what size you use, it’ll take between 30-50 minutes at 350 degrees Fahrenheit – depending on the size of pan you use, of course.
If you use a larger cake pan and choose to cut the cakes when finished, use the proper tools. A cookie cutter will work well, as it will make even shapes and be easy to use.
Lastly, be sure to use Good Quality Chocolate Powder. Yes, regular cocoa powder will work, but do invest in a good quality baking cocoa powder. You may even melt chocolate bars to add in more richness to the cake. If you do use chocolate bars, I recommend dark chocolate.
Which Food Coloring To Use?
To get that red velvet color, you can use burgundy food coloring or 2 1-ounce red food coloring.
It is best to use the liquid food coloring. They are easy to work with, and you can get them from any grocery store or cake / craft store.
Why Does My Red Velvet Cake Taste Bitter?
Your red velvet cake may taste bitter because of the food coloring that’s added, or if you’ve added too much vinegar. It’s best that you follow the recipe exactly to have the best result.
Serving Tips
The best part about making a mini red velvet cake is eating it! With a mini cake, you have some options, depending on how you baked it.
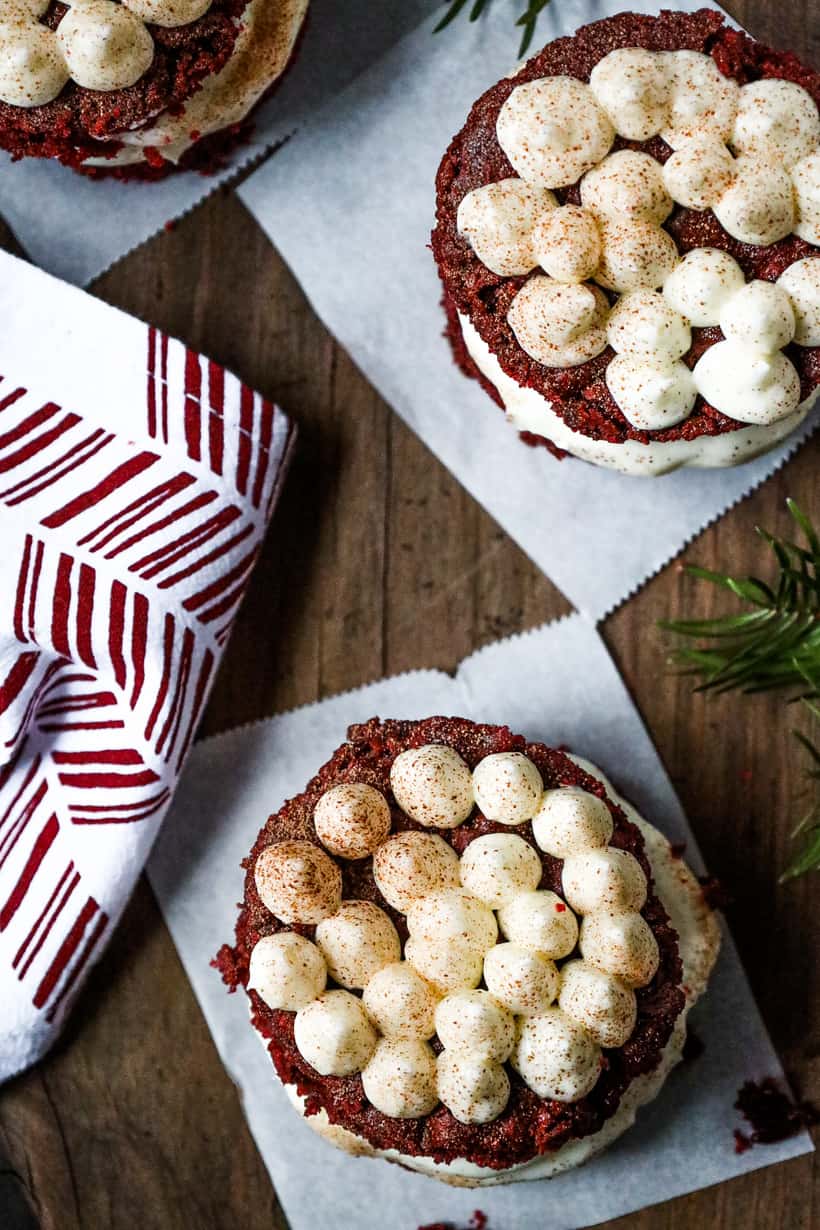
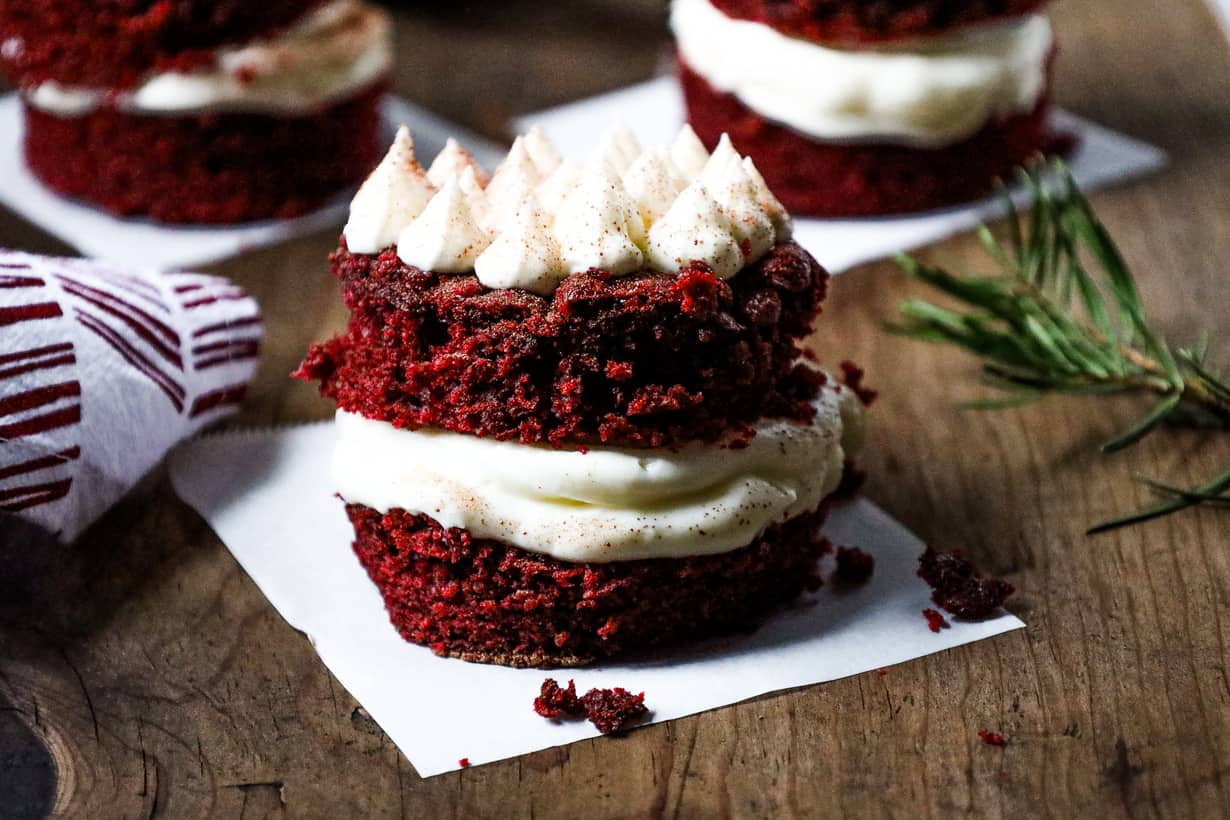
If you used separate small pans, you could stack the cakes to have layers, or you can serve two cakes. If you used a larger baking pan and a cookie cutter, you’ll probably be stacking.
When stacking the separately baked cakes, make sure you sever the top of whichever cake you’re using for your bottom layer, making a flat top. This will make stacking easier.
Whether you’re stacking your cakes or serving them as they were baked, frost the top and garnish with some mint and raspberries or chopped nuts for a beautiful presentation.
Storage Tips
Store your mini red velvet cake in an airtight container. If you have a cake platter with a glass cover, use it, because your cake will look too beautiful to not be displayed, even when it’s partially eaten.
If you’d like, store your mini red velvet cake in the freezer. You can enjoy it months after you made it if it’s frozen, making your future self so happy about your past self’s decisions.
Frequently Asked Questions (FAQ)
Absolutely not but not too far. It is not quite a chocolate cake either. Red velvet cake is a good balance of both with red coloring.
Most recipes don’t specify which vinegar to use. White vinegar is most used, but apple cider will work if necessary. It may change the taste slightly, but the chemical reaction will happen just the same, which is important.
To keep these mini velvet cakes supper moist, we are using oil instead of butter we are using just enough so that it does not weigh the cake down.
More Cakes To Enjoy
If you loved this mini red velvet cake recipe, continue the celebration by serving it with our Haitian Kremas, they are absolutely divine together. Then, try one of these cakes next:
Carrot Cake Bread – Loaf Recipe
We would love to know if you tried this recipe, tag us on Instagram or Facebook so we can see your beautiful dish.
We would also appreciate a star rating below.
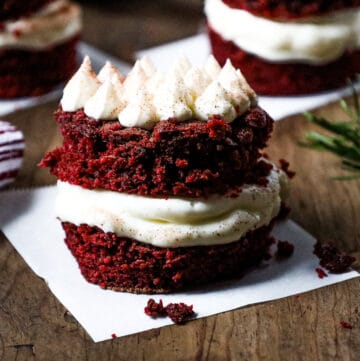
Ultra Moist Mini Red Velvet Cake
Equipment
- Hand Mixer
- Budnt Pan / Mold
Ingredients
- 2 ½ Cups All-Purpose Flour
- ½ Tsp. Baking Soda
- 2 Tsp. Baking Powder
- 4 Tbsp. Baking Chocolate
- ½ Tsp. Kosher Salt
- 2 Large Eggs at room temperature
- 1 ½ Cup Sugar
- 1 Cup Vegetable Oil
- 2 Tbsp. Distilled White Vinegar
- 1 ½ Cup Milk
- 2 Tsp. Vanilla Extract
- 1 Oz. Bottle Red Food Coloring burgundy coloring will also work
Cream Cheese Icing
- 8 Oz. Cream Cheese at room temperature
- 4 Tsp. Almond Extract
- 2 ½ Cup Powdered Sugar
- 2 Tbsp. Milk or Creamer
Instructions
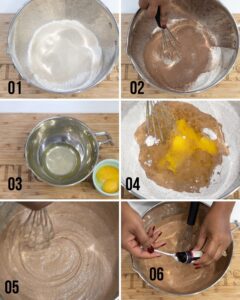
- To make the cake: Set the oven to 325°. Spray the bundt cake pan or mold with cooking spray. See notes below. Separate the eggs whites and egg yolks: Set Set the egg whites and egg yolks in two separate bowl. Set aside. Sift dry ingredients: In a medium bowl, sift the flour with baking soda and baking powder. Then add in the chocolate and salt. Stir well to combined. Mix wet ingredients: In a large bowl, with an electric mixer, hand mixer, or whisk, on medium speed, beat the eggs yolks well, then add in the sugar, oil, and vinegar.
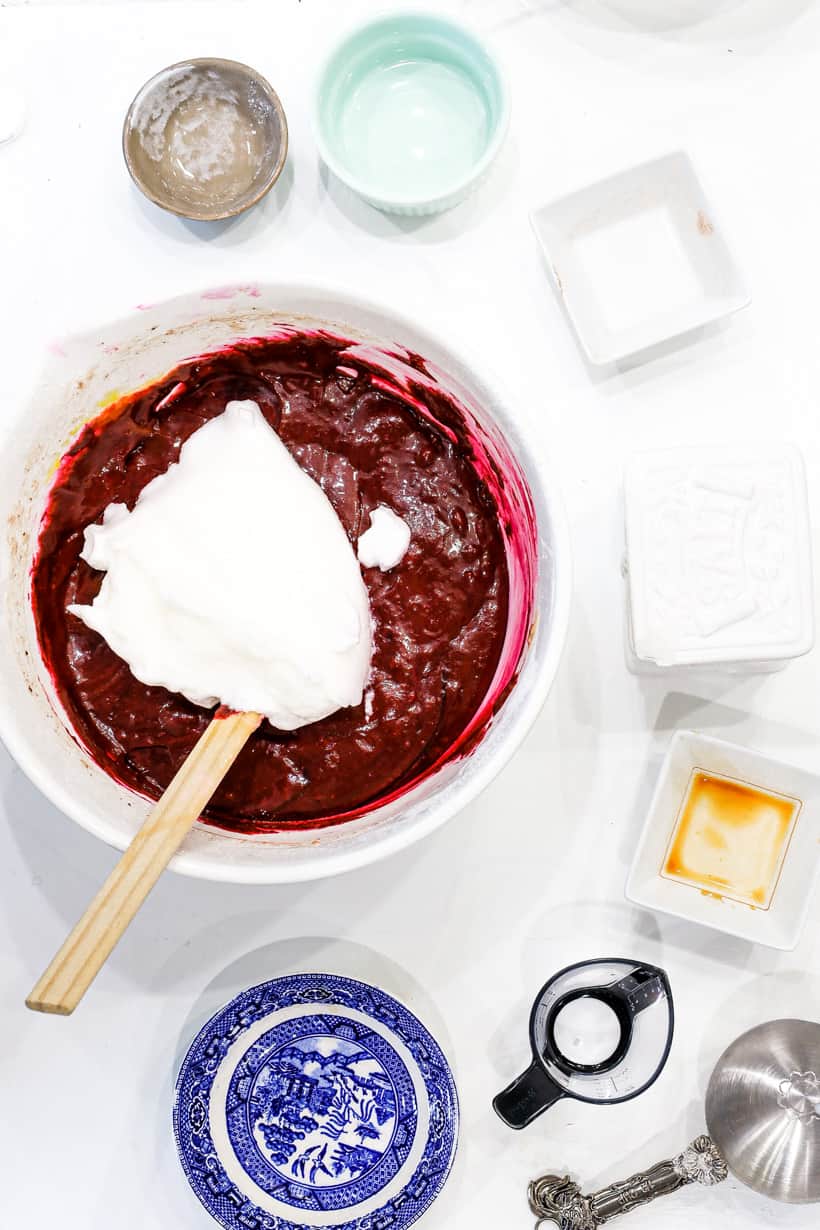
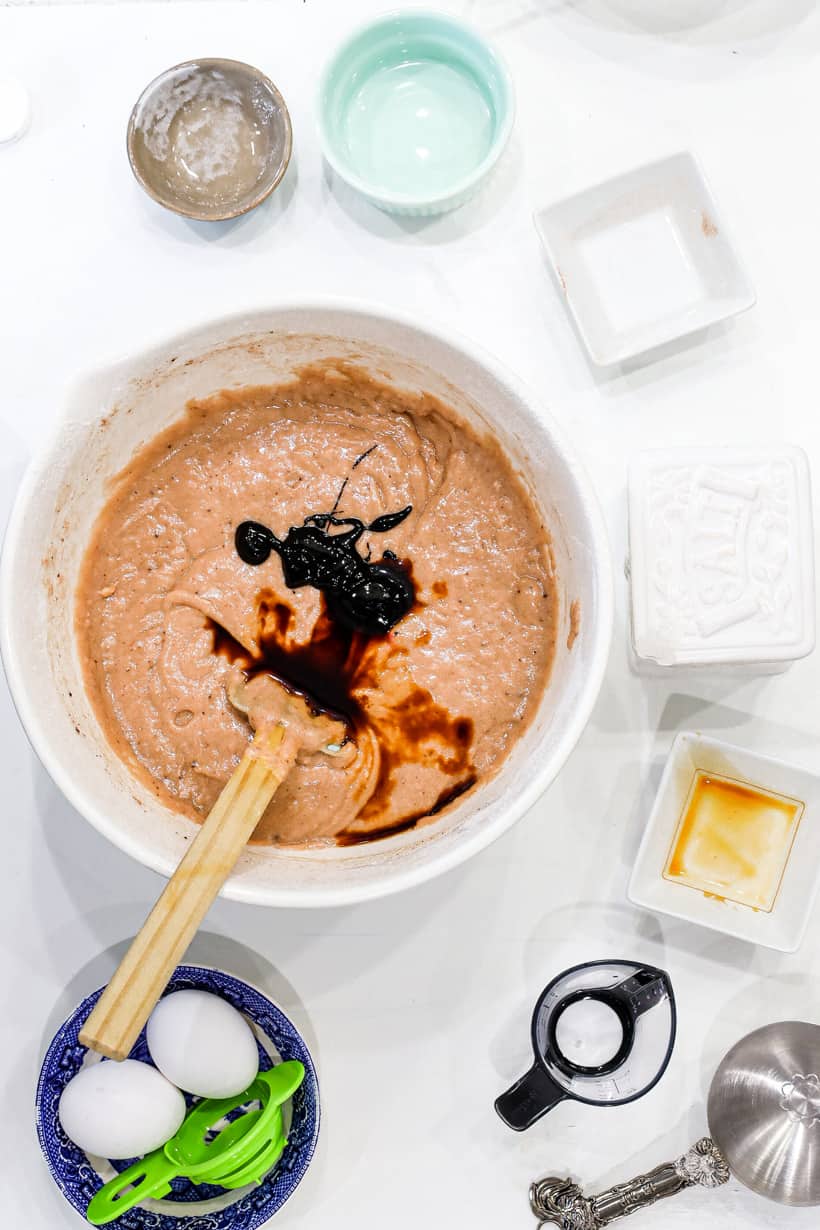
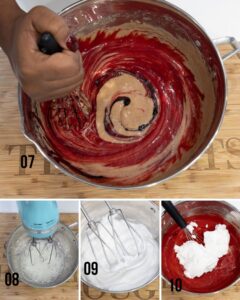
- Slowly add in the flour while mixing on low speed and beat well: Stop the mixer and add in the milk, vanilla extract and food coloring. Continue mixing until just combined. Set aside. Do not over mix.Beat the egg whites: Using an electric hand mixer, whisk the egg whites until stiff peak. Fold the ingredients: Fold in the egg whites to the cake mixture. Time to bake: Pour the mixture in the lightly oiled large cake pan or mini cake pans, bake for 30 – minutes (mini cake pans) or for 55 minutes (large cake pan) at 325° or until toothpick comes out clean. Use a cookie cutter to cut the cake into desired portion. Decorate as desired. Enjoy!
- To make the icing: Combine all of the ingredients in a medium bowl and mix well until very smooth. It is best to use the icing right away (when th cake cools off completely) while it is soft and spreadable. Top with chocolate shaves and enjoy.
Video
Notes
- Before pouring in the batter, be sure to spray the mold / pan with cooking oil spray. Best to take the mod and spray it in the sink so you do not have oil spills on the floor or counter.
- Sprinkle it with flour. You can also dust the cake mold with flour. This will help the batter to not stick as the cake bakes and cool off.



Tara says
Oh how fun!! I love the layers in these mini red velvet cakes with the piping on top. They look absolutely amazing.
Mirlene says
Thank you, Tara
Colleen says
This was my first time making red velvet cake and it turned out perfect! I just made one big cake and it was a hit. I’ll make it again for Valentine’s Day.
Emily says
These mini Red Velvet Cakes are so deliciously soft and moist! I’ll be bringing them to the next party we’re going to! Thank you for sharing the recipe.
Wanda says
This looks my kind of dessert. I’m bookmarking to make for the family!
Mirlene says
Thank you so much!
Irina says
I love this mini option of the red velvet cake! It’s a cute presentation too. Bookmarking for later. 🙂
Mirlene says
Yayyy! Thank you so much.
Gina says
Adorable and perfectly sized for a small Valentine’s Day celebration!
Mirlene says
Absolutely! Thank you, Gina!