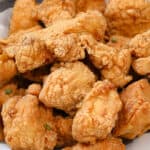
Japanese Fried Chicken Recipe (Chicken Karaage)
The most amazing Japanese Fried Chicken recipe you’ll ever taste, ever! This Chicken Karaage is fried to perfection to leave you a crispy juicy result. All done in less than 30 mintues!
Servings 4 Servings
Calories 263kcal
Equipment
- Deep fryer
- Air Fryer Optional
Ingredients
- 1 Lb. Boneless/skinless breasts Thighs will work as well.
- 3 Tbsp. Soy sauce
- 2 Tbsp. Sherry
- 3 Garlic cloves minced
- 1 Tsp. Ground ginger
- Oil for deep frying Peanut oil or vegetable oil will work
- 4 Tbsp. All-purpose flour
- ⅓ cup Cornstarch
Instructions
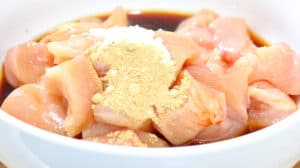
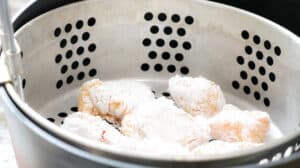
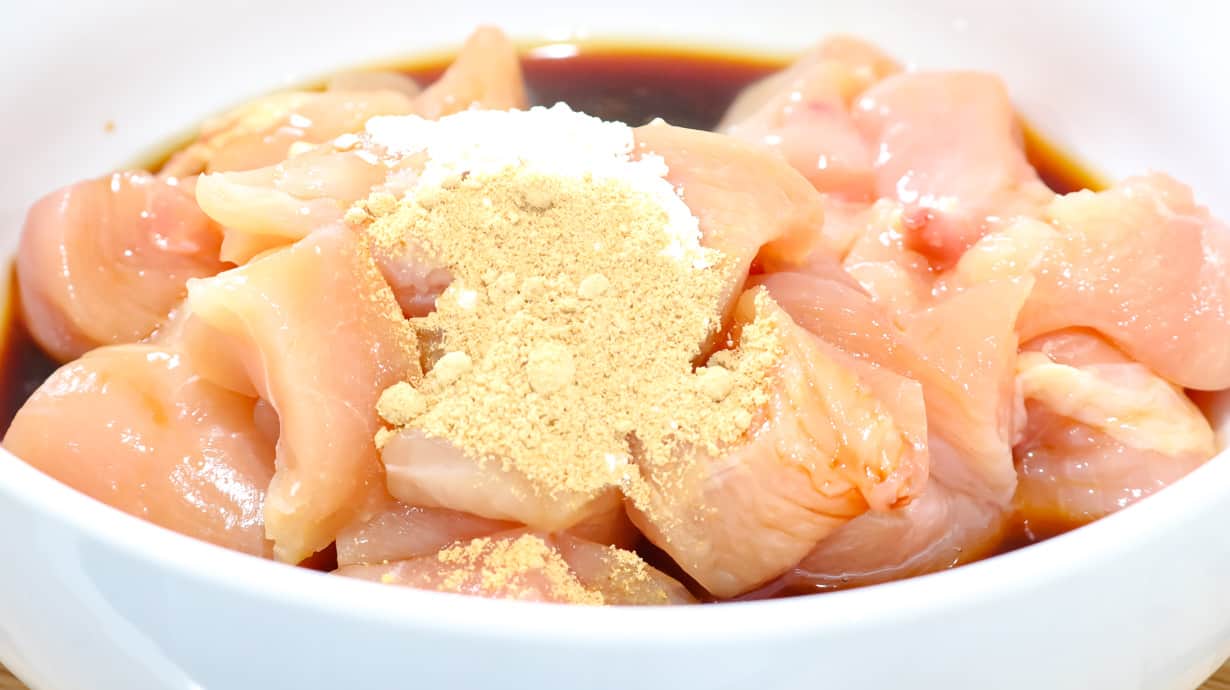
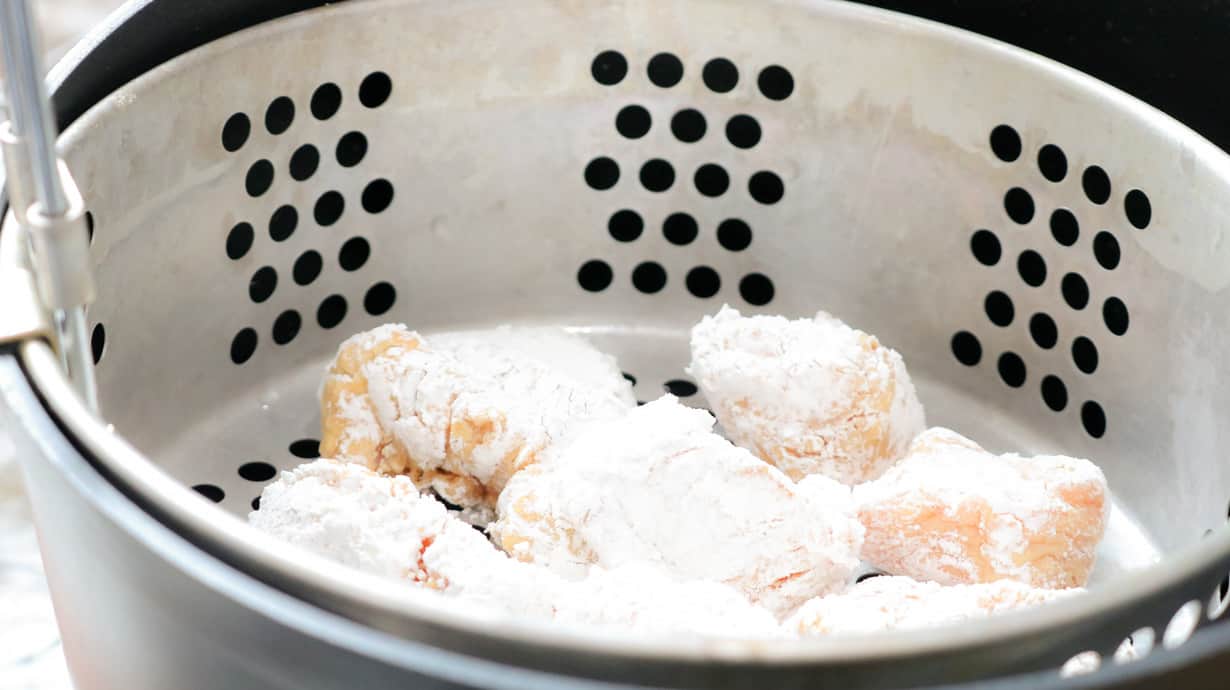
- Cut the chicken in bite size. Clean. Pat dry then transfer the chicken to a bowl. Set aside.Marinate the ChickenCut the chicken pieces into bite-sized chunks. I aim for about 1.5-inch pieces so they cook evenly.n a large bowl, mix together the soy sauce, sherry, garlic, and ginger.Add the chicken and toss to coat. Cover and let it marinate for at least 30 minutes (or up to 2 hours for more intense flavor).Coat the ChickenIn a clean large bowl, combine the all-purpose flour and cornstarch.Remove the marinated chicken from the bowl and let any excess oil drip off before tossing it into the flour-starch mixture.Coat each piece thoroughly, shaking off the extra flour. The First Fry (Essential for Crispiness!)Heat peanut oil or vegetable oil in a deep pan or fryer to 325°F (163°C).Fry the chicken in batches for about 90 seconds, just until the outside starts to turn golden.Remove the chicken with a slotted spoon and let it rest on a wire rack lined with paper towels to drain the excess oil.
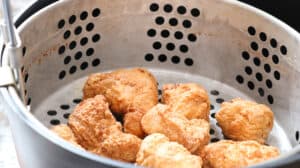
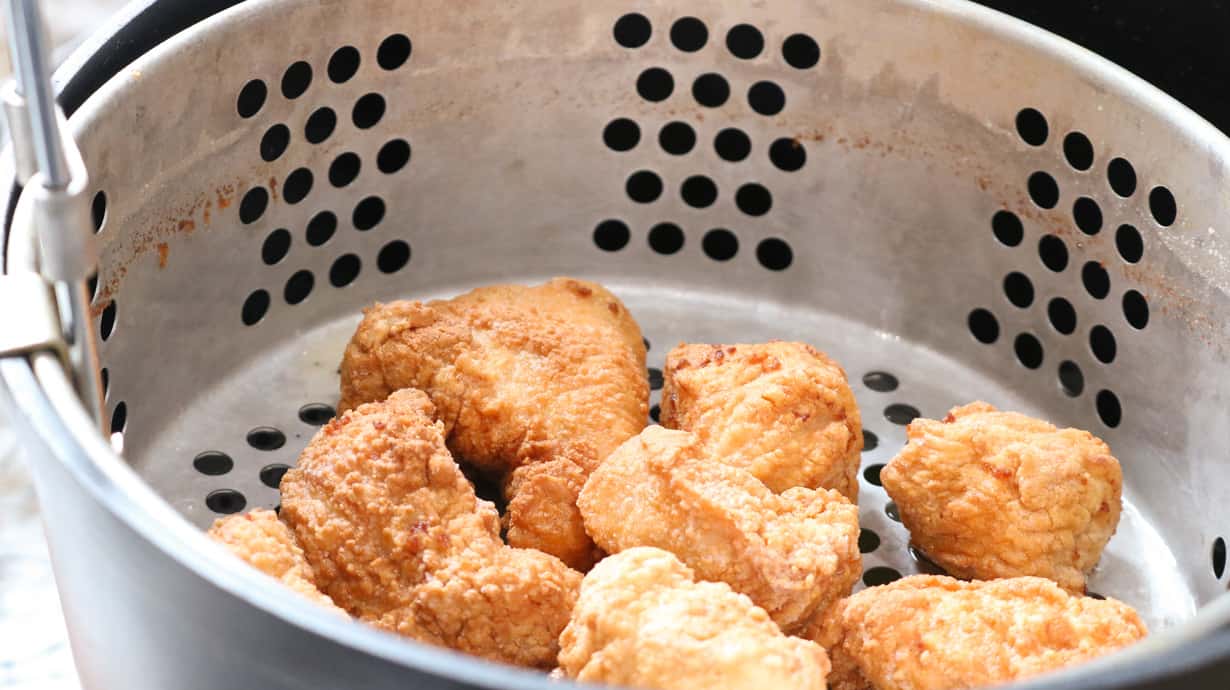
- The Second Fry (For That Extra Crunch!)Increase the oil temperature to 375°F (190°C).Fry the chicken a second time for 45–60 seconds, or until deeply golden brown. This second time frying removes moisture from the coating, giving it that irresistible crispiness.Drain again on a wire rack.
- Serve & EnjoyPlate the crispy Japanese fried chicken with a side of lemon wedges for a bright, citrusy contrast.Serve with rice, shredded cabbage, or even in a bento box!
Video
Notes
Normally, Sake is usually used. However, you can replace the sake with sherry.
It's best to use a timer to assure that the chicken is cooked evenly as you work in batches.
**** When printing the recipe, please unselect the camera so that the pictures are NOT printed with the recipe (if preferred).
Disclaimer: This post may contain affiliate links. See our full Privacy Policy. We may receive compensation by clicking on the links and or making a purchase.
Nutrition
Serving: 4People | Calories: 263kcal | Carbohydrates: 18g | Protein: 24g | Fat: 9g | Saturated Fat: 2g | Polyunsaturated Fat: 1g | Cholesterol: 105mg | Sodium: 778mg | Potassium: 316mg | Vitamin C: 1mg | Calcium: 3mg | Iron: 7mg